Showing posts with label doll carrier tutorial. Show all posts

Tuesday, April 9, 2013

DIY doll sling carrier(small size) tutorial


I found some pretty fabric yesterday.It was perfect for doll carrier.I tried to make smaller version for my 2 yaer old,next time i will make bigger one(pattern will be for sale).

Cut pattern(i made my own)
Then cut fabric pieces.
Carrier will be reversible,so 2 different styles of fabric would be great.
Place 2 pieces of fabric(same style) right sides together.
Sew only curved line.
Do the same with other 2 pieces.
It will look like this...
Place those 2 pieces right sides together and pin.
Sew all the way around,leaving 3-4cm opening.
Turn right side out.Fix corners with crochet hook or anything you find handy.
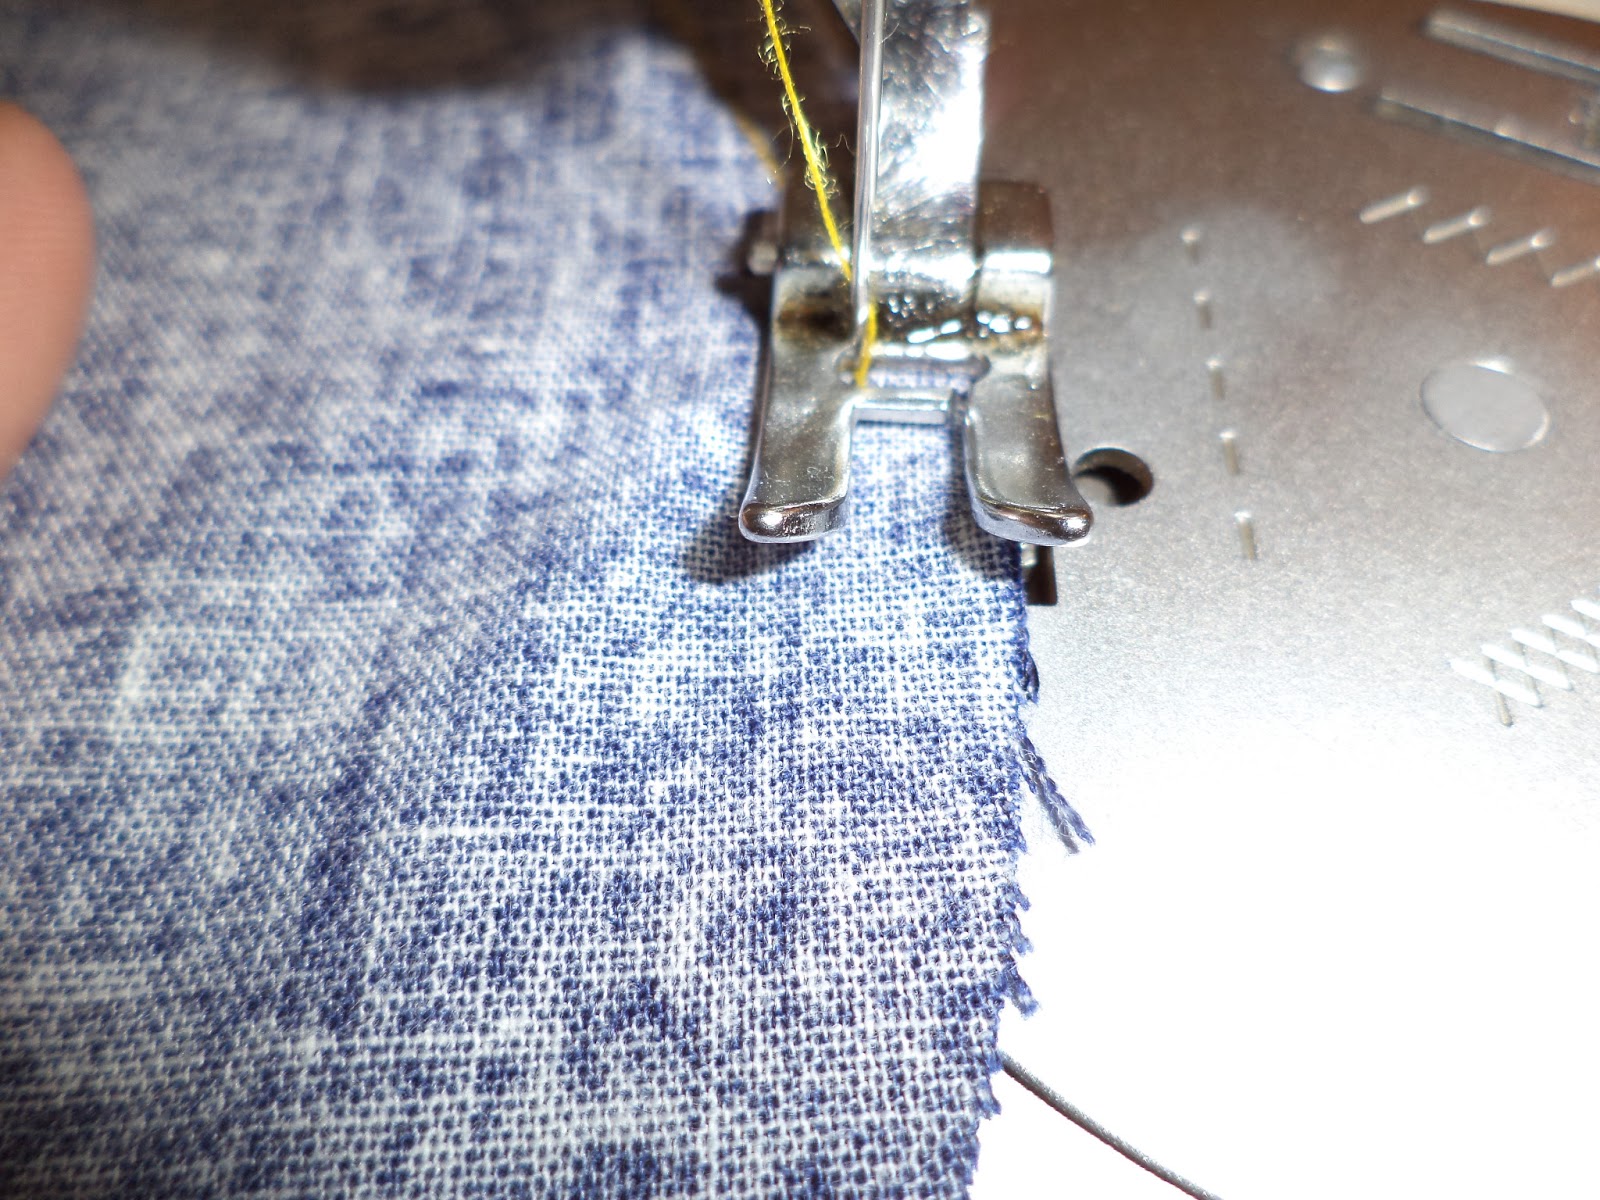
Top stitch to close opening and make your carrier look even better.I always set maximum stitch length at this step.
Sew velcro(i used 10cm long pieces to adjust size)
Finished!


I added my labels.She can tie baby doll dummy here.:)
The most important part,she loves it.
pretending to be a dinosaur ;)


Linking to:


Tuesday, February 26, 2013

Baby doll carrier tutorial

My girl loves playing with her babies,so I made her a doll mei tai.

She really loved it.


Now I will try to show how did I do it.
1.Draw shape of carrier body.You will need 2 pieces to cut,if You have different fabrics,You can make reversible carrier.
2.Place 2 pieces of fabric,right sides together and cut shape.
3.Now cut carrier straps,mine are 15" long and 3" wide
4.First sew straps,about 1/2" from the edge.


5.Leave forth side open,there is no need to sew it,because it will be placed inside carrier.


6.Turn right side out.
7.Sew other 3 straps the same way.


8.Place straps inside the carrier,and pin.


Upper straps place few inches from the centre.

9.Start sewing at the center(up or down),sew all the way around leaving opening,about 2" long.
 10.Turn right side out.
11.Pin the opening and sew all the way around or hand sew with invisible seam.
You can use it this way,just tie ends at back.
Or...
 12.Cut 4 pieces of velcro,5" long.Place it like shown in the picture.
When You sew velcro on every strap,Your baby doll carrier will look like this:
Finished!It's easy,quick project and every little girl would love to have a baby doll carrier.If You place velcro,size will fit girl aged 2-5.If You tie ends,it will fit girl aged 2-3,for bigger girl just add more length.
I hope instructions were clear(I see tutorial making is not easy job,at all).


You can buy pattern at my shop for only 3.00$.


Linking to:

http://www.itsoverflowing.com/
http://www.bedifferentactnormal.com/
http://annemarieshaakblog.blogspot.com/
http://too-much-time.com/
http://www.sixsistersstuff.com/
http://polkadotpretties.com/
http://www.serenityyou.com/
http://www.oneshetwoshe.com/
http://sewmanyways.blogspot.com/
http://www.flamingotoes.com/
http://www.niftythriftythings.com/
http://diyshowoff.com/
http://www.huckleberrylove.com/
http://www.keepingitsimplecrafts.com/
http://itssoverycheri.com/
http://www.skiptomylou.org/
http://www.craft-o-maniac.com/
http://www.sewcando.com/


Lil\'Luna
Daisy Cottage Designs
All Things with Purpose
Through My Creative Mind
 photo blogbutton_zpsb1fa0f6d.jpg
Blogging tips